
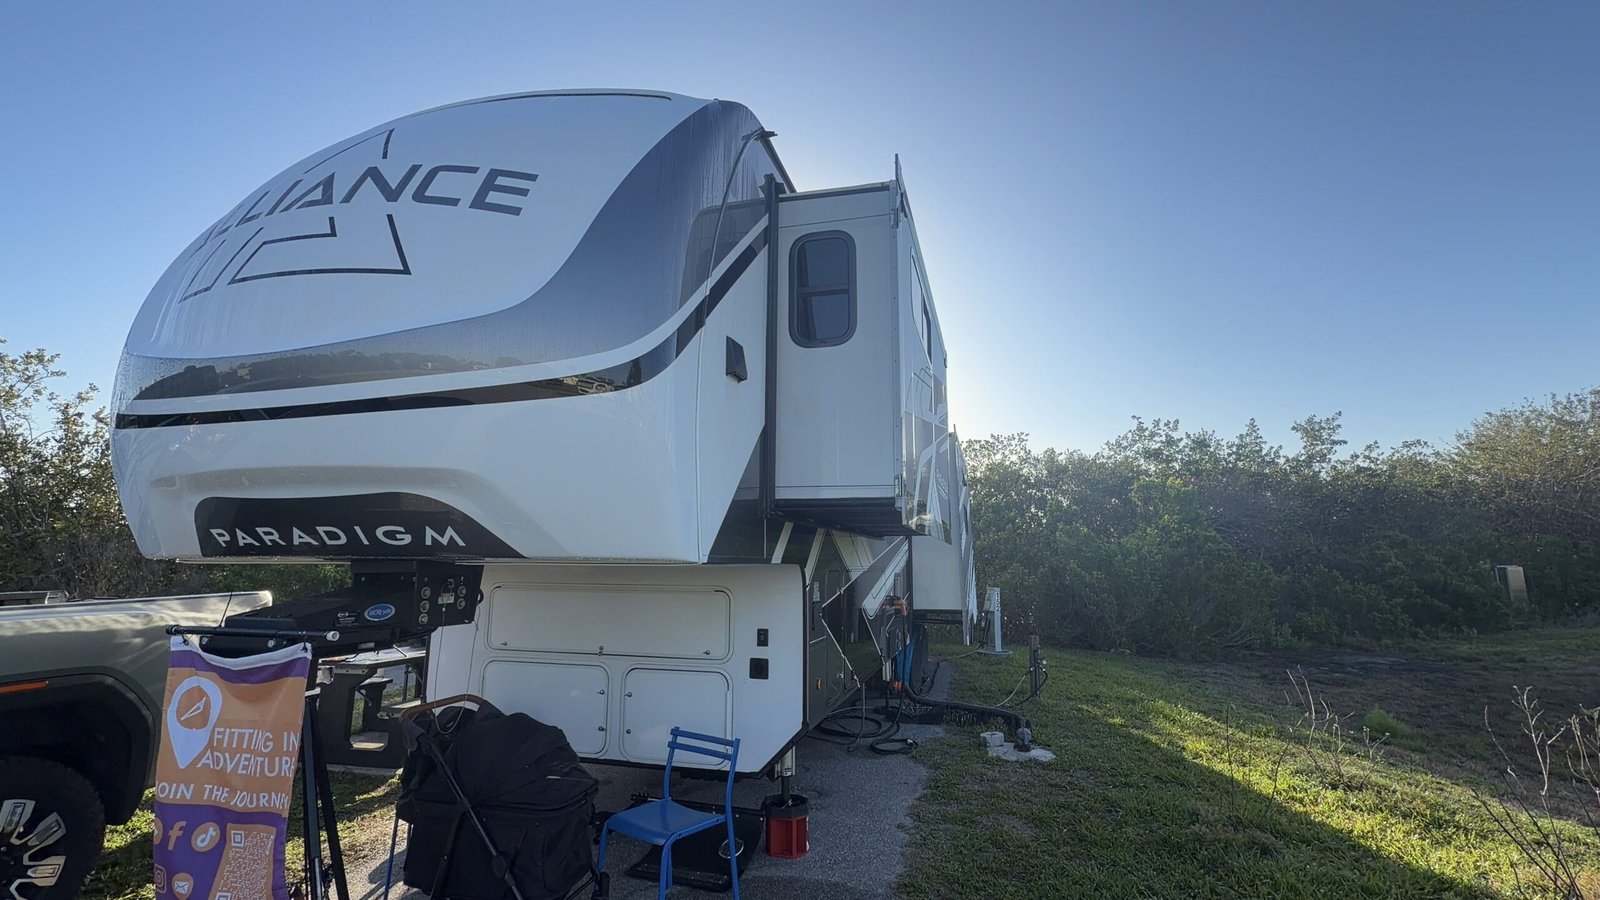
If you full-time in an RV, you already know the sound. A little scrape. A little whistle when the wind picks up. Then one afternoon you notice a stain creeping across the ceiling near the slide and your stomach drops.
Disclosure: Some links on our site are affiliate links. If you purchase a linked item, we will make a commission, at no extra charge to you.
Slide-out seals are one of those parts nobody thinks about until they fail — and by the time they fail, they’ve usually been failing quietly for a while. We finally got tired of babying our old seals and decided to replace them with Flip ‘N Seal, a system originally engineered for RV manufacturers that’s now available for owners to install themselves. We filmed the whole thing, and here’s what we learned.
Watch the full install below, then keep reading for the details, tips, and what we’d tell a friend before they try this themselves.
Why Slide Seals Fail in the First Place
Most factory slide seals are built as two separate pieces — a wipe seal and a bulb seal — held together and attached to the wall with adhesive. Adhesive is the weak link. UV exposure, temperature swings, and thousands of slide cycles eventually break that bond down. Once it lets go, you get gaps, water intrusion, drafts, and eventually interior damage that costs a lot more than the seal itself.
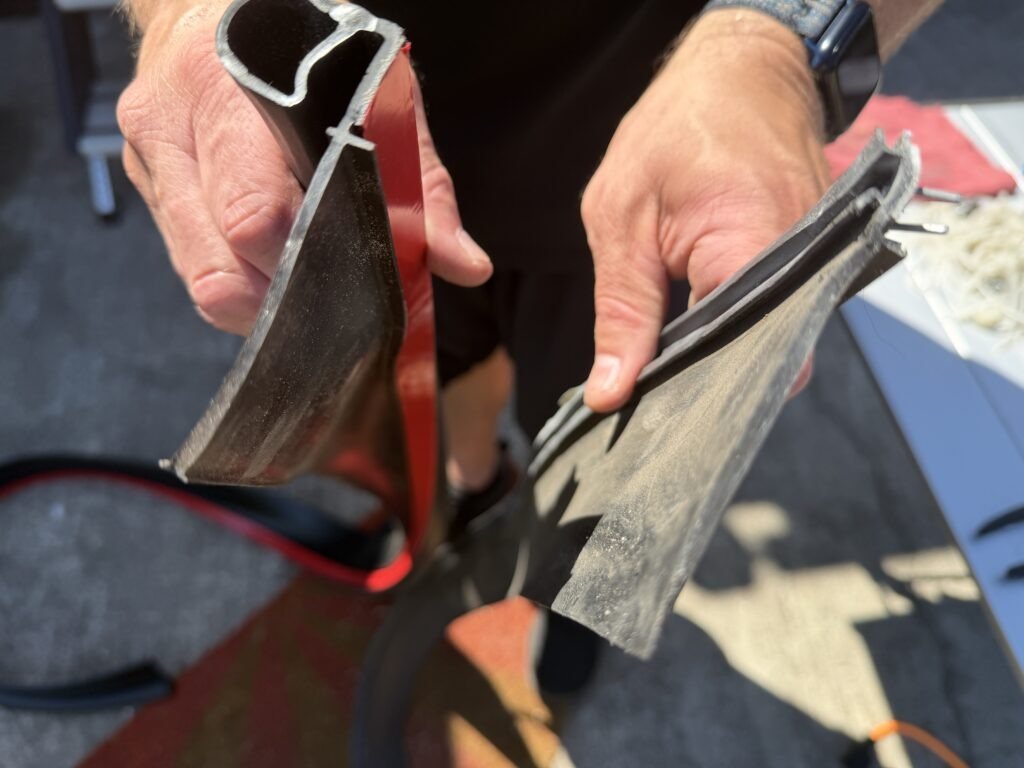
Flip ‘N Seal takes a different approach. It’s a single, integrated piece that combines the wipe and bulb into one part, so there’s no seam between two separate pieces that can pull apart over time — you’re gluing and screwing down one solid unit instead of two. It’s actually the original equipment sealing system used by manufacturers like Grand Design, which told us something before we ever opened the box: this isn’t a novelty upgrade, it’s factory-grade hardware made available to owners.
What’s Actually in the Box
The bulb and wipe are molded as one continuous piece rather than two separate parts glued together, and the material is rated for a wide temperature range, so it’s built to handle both desert heat and freezing mornings without going stiff or melting — a real problem we’ve seen other RVers report with standard seals on south-facing slides. It still installs with adhesive and screws, but because the wipe and bulb are already one unit, you’re only sealing it to the wall — not also holding two separate pieces together.
The Install: What to Expect
We won’t rehash every step here since we walk through it in real time in the video, but the broad strokes:
- Remove the old seal. This is the messiest part. Depending on how your rig was built, the factory seal may be stapled, screwed, or glued in place, so budget time for cleanup — old adhesive and staples don’t come off in a hurry.
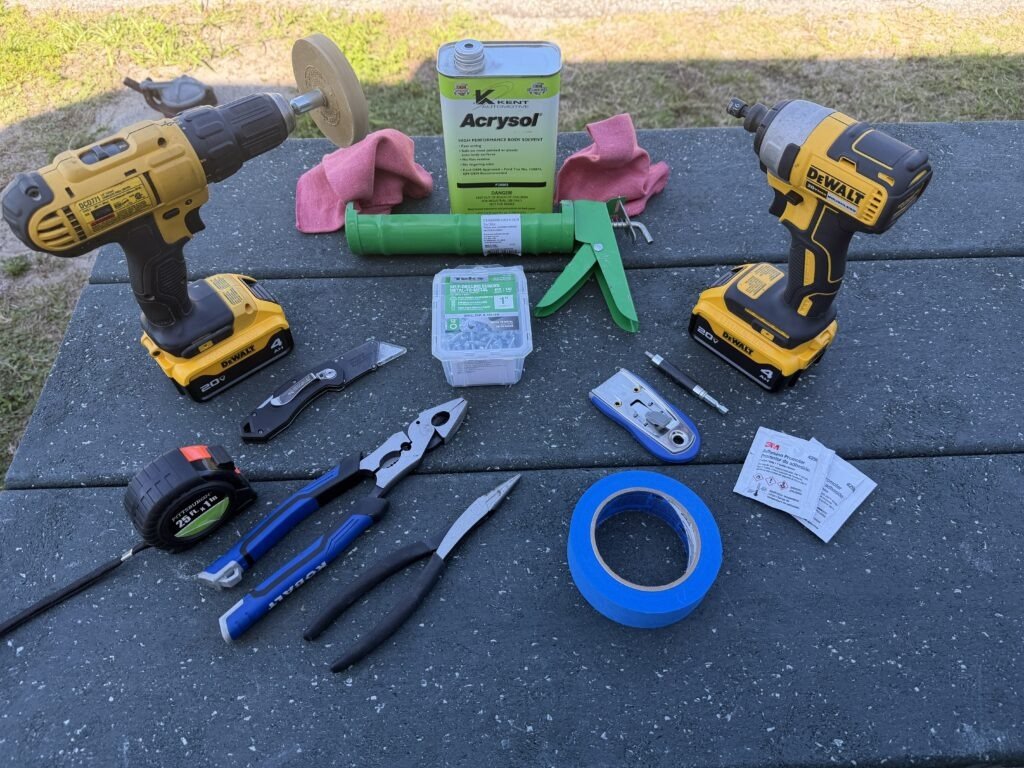
- Clean the mounting surface. Any leftover adhesive residue will keep the new seal from seating properly, so don’t rush this step. This adhesive remover is what we used to get the old residue off cleanly.
- Glue and screw the new seal into place. The seal comes with adhesive already on it, so you seat it into position and secure it with screws for a permanent hold — the one-piece design just means you’re doing this once per section instead of aligning two separate pieces.
- Cycle the slide and check the seal line. Run the slide in and out a few times and look for even contact along the full length before calling it done.
If you’ve never done this kind of repair before, plan for a full afternoon rather than a quick hour — most of the time goes into removing the old seal cleanly, not installing the new one.
Real-World Results
This is the part that actually surprised us. After the install, the draft we’d been feeling near that slide was gone, and the seal line looks tighter and more consistent than the factory original ever did. It’s early days on long-term durability, but the one-piece design makes a lot of sense mechanically — there’s simply less that can come apart.
A Few Tips If You’re Considering This Upgrade
- Measure twice. Get an accurate length for each slide before ordering — you want enough material with a little to spare, not a mid-install shortage.
- Do it somewhere level and shaded. Working in direct sun on a hot roof or wall panel makes the old adhesive harder to deal with, not easier.
- Have a scraper and adhesive remover on hand. This is the tool that saved us the most time on removal.
- Don’t skip the cleaning step. It’s tempting to rush straight to the new seal, but a clean surface is what makes the adhesive actually hold long-term.
Was It Worth It?
As full-time travelers, we’re careful about which upgrades we actually recommend, because we’re the ones who have to live with the results. Worn slide seals aren’t just an annoyance — they’re a slow-motion water damage problem waiting to happen. Flip ‘N Seal solved a real issue for us with a design that’s held to OEM standards, and the install, while not a five-minute job, was straightforward enough for us to tackle ourselves on the road.
If your seals are cracked, leaking, or just past their prime, it’s worth watching our full install video before you decide how to tackle it yourself.
🛒 Grab the seals we used here: Flip ‘N Seal on Amazon

Vince DiLoreto spent 20 years in the United States Air Force seeing the world before deciding to see it properly — this time with a camera, an RV, and considerably better food. A trained photographer and the visual half of Fitting in Adventure, Vince captures the places, people, and moments that make every trip worth telling. When he’s not behind the lens, he’s behind the wheel, which means he’s seen every gas station between Florida and the Pacific Northwest.